HOW TO: Make Your Own Digital Letterhead


UPDATED 12/1/22
DIY Digital Letterhead
One of my favorites in the Branding Suite is the beautiful, full-bleed, custom letterhead designs for each brand. With so many of your business communications moving to digital, these gems aren’t getting the use they deserve. Take the pdf letterhead your brand designer provided and carry that consistent look into all your digital communications with clients. Follow along to create your own electronic version on pages or word.
Design Your Own Digital Letterhead in Pages
Open a NEW, blank, Pages document.
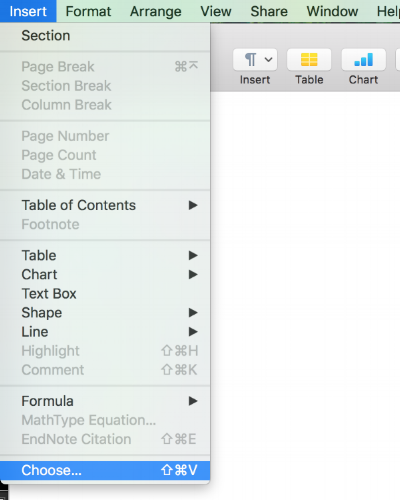
Step One: Insert File
Click "Insert" from the main menu then "Choose" at the bottom. This will open up your finder box where you can retrieve your designed letterhead. You can use a .pdf or .png file and insert into pages.
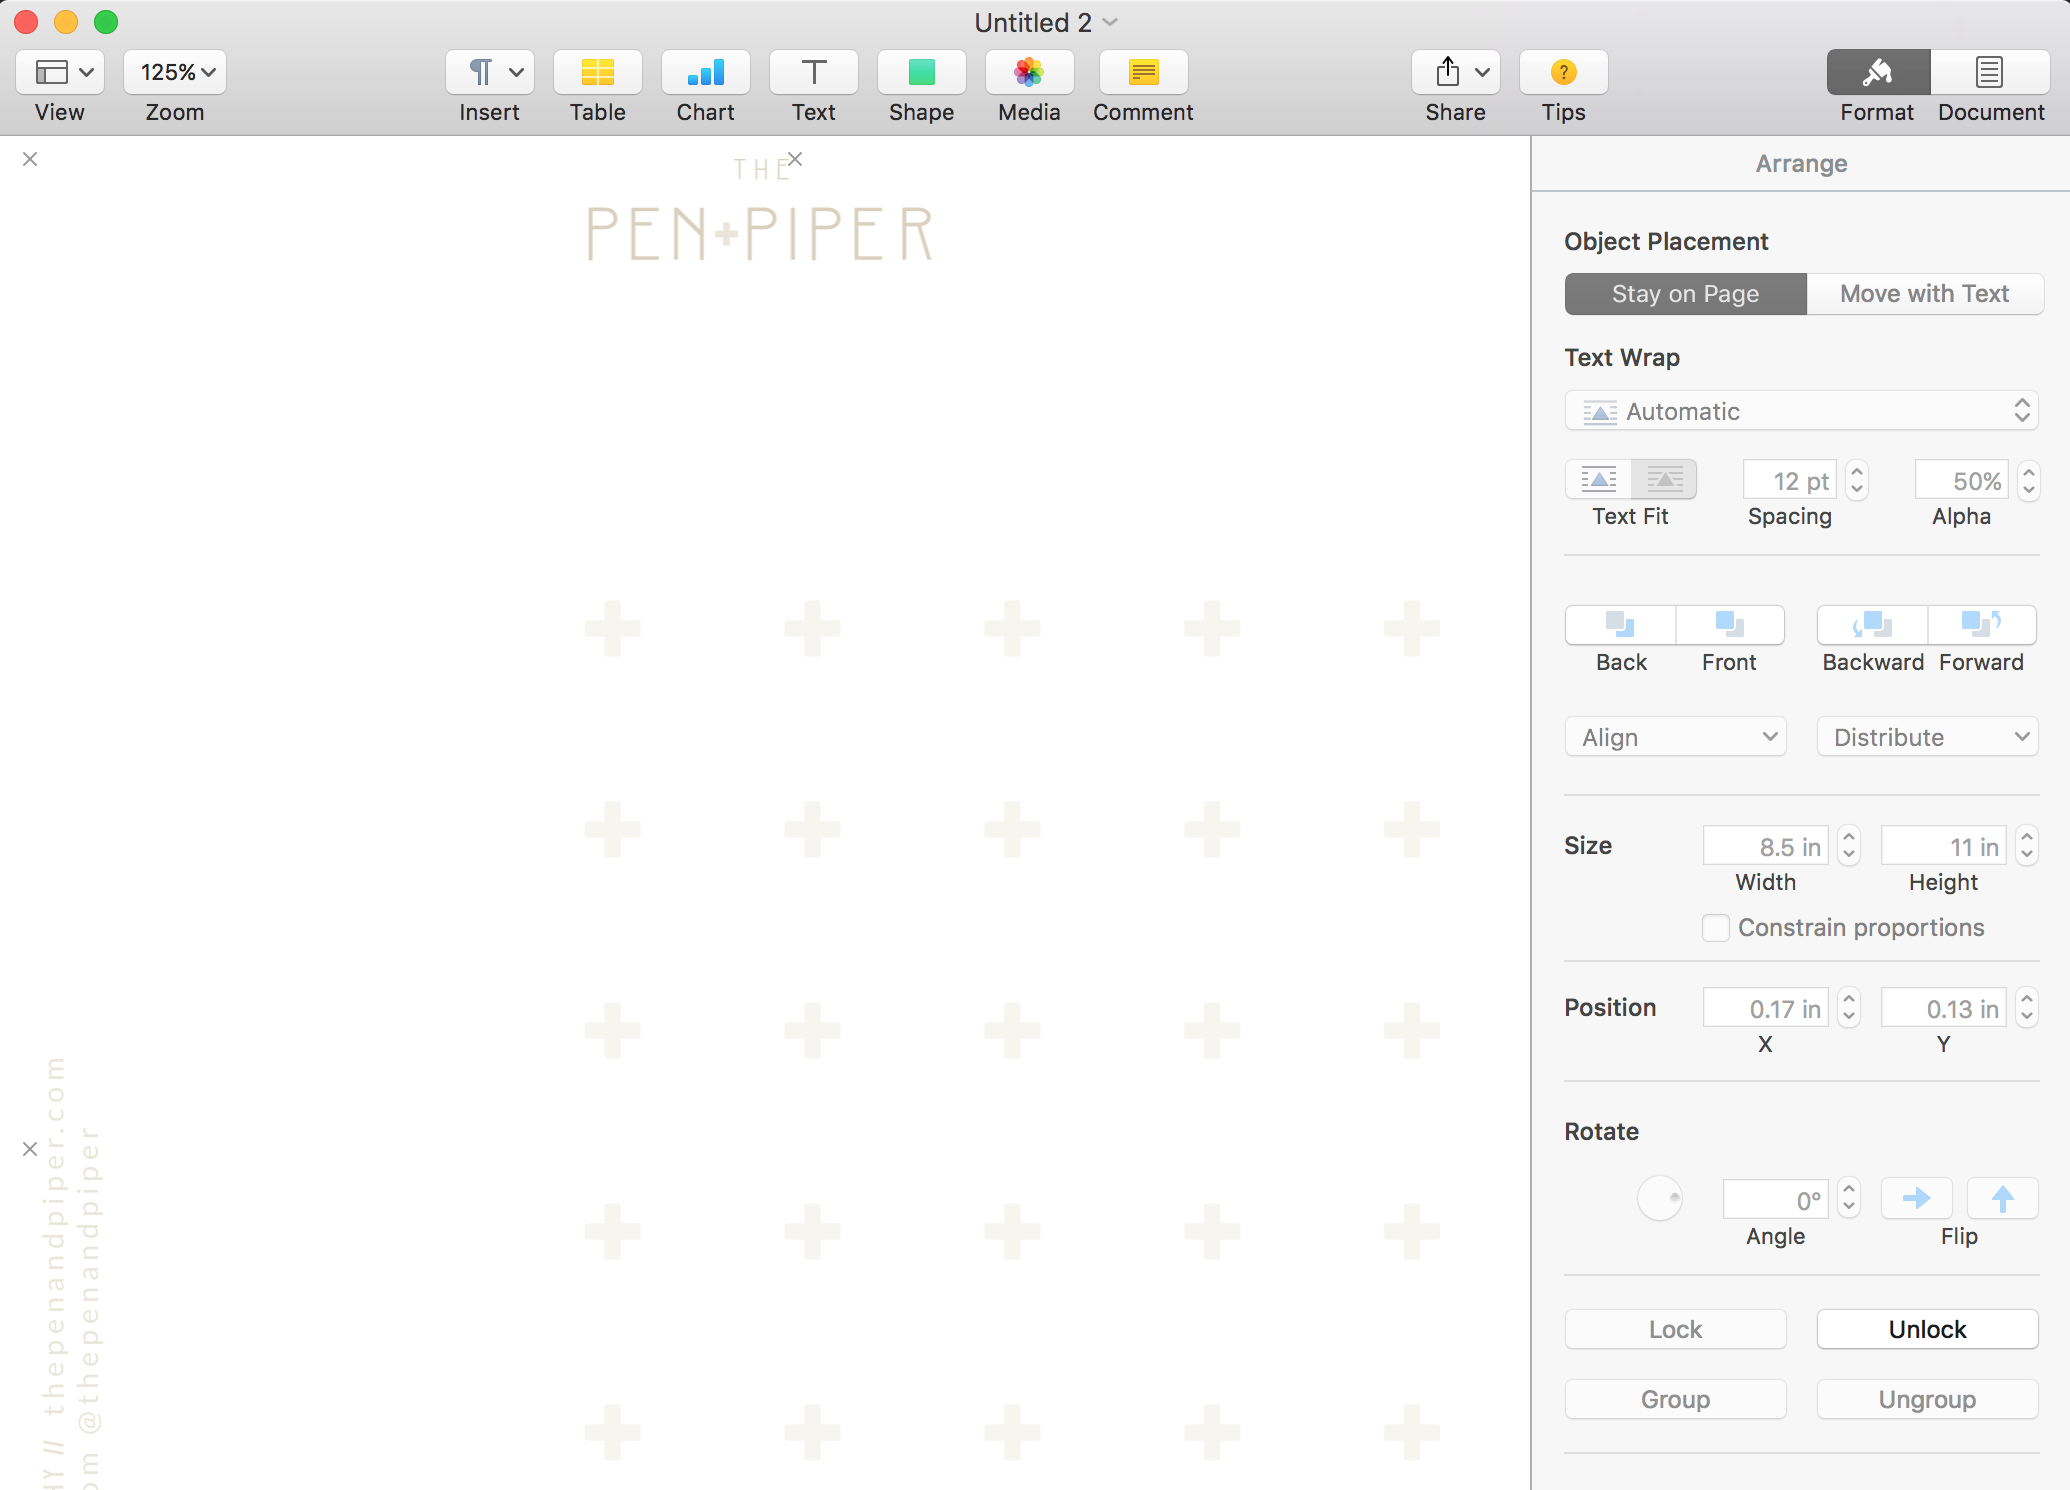
Step Two: Size Your File
Pages will give you handles on the edge of your inserted file so you can size it for full page. Once you've sized your file the way you want, click "LOCK" in the FORMAT options on the arrange tab so it stays in place on the page.
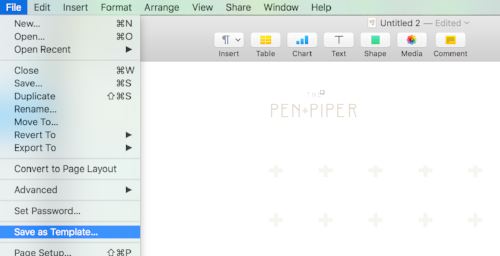
Step Three: Save as a Template
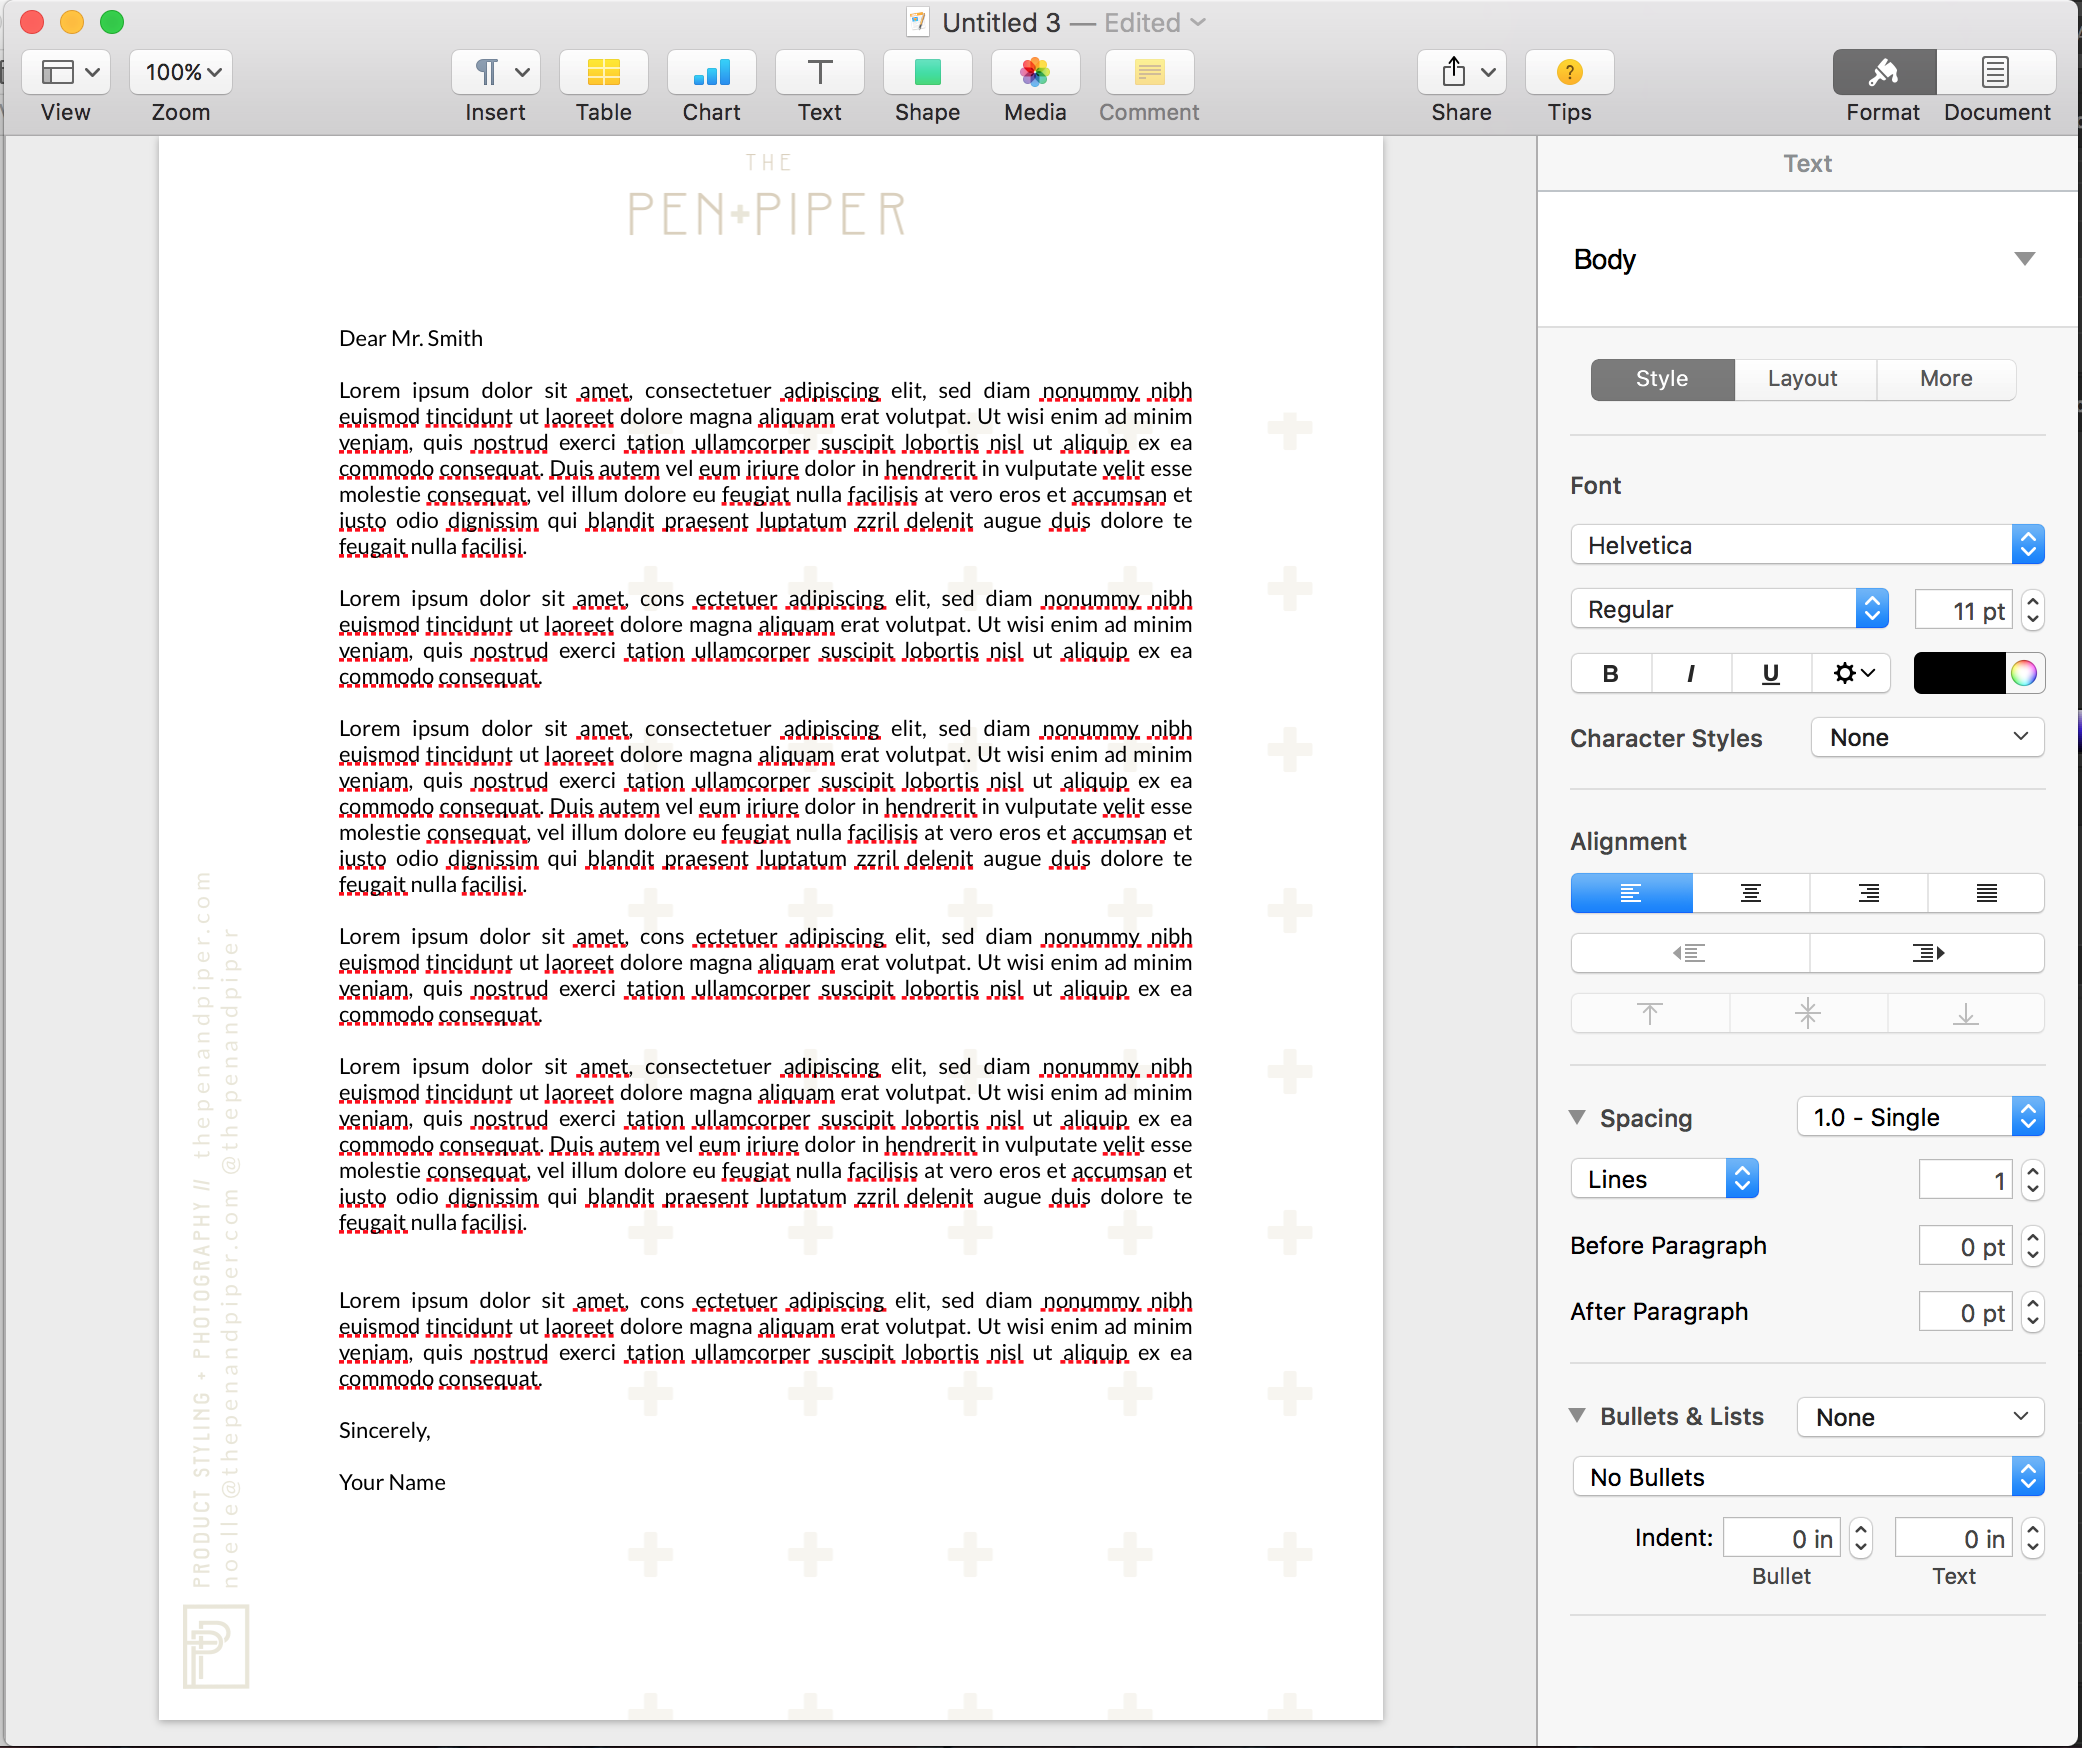
Next, save this file as template so you can use any time you want. Just name it in your saved templates and reopen anytime you want create a new document. You'll be able to type your message just like you would a regular pages document. Be careful of the spacing with your design to make sure everything is readable.
Style Tip: Whether you save as a template or just lock the background, you can use text boxes, charts, etc. for added control over your layout. With this sample, my background has a 40% opacity for the custom pattern so as not to compete with the main text.
Design Your Own Digital Letterhead in Word
Want this but don't use pages? This is the first tutorial I found to use Word — it’s perfect for a full-bleed, header and footer layouts, but what if you want a full-page background? That’s why I created this tutorial with two options for Word users.
OPTION ONE - WATERMARK YOUR DESIGN
The easiest option for a full-page, full-bleed letterhead in Word is to use the built-in watermark feature in the design tab. The downside for this option is that the watermark dims your design. If this doesn’t work for your design, skip to Option Two instead.
Step One: Open a blank, Word document and choose LAYOUT in the top menu.
Step Two: Zero out the default margins for the page. Windows often has a 1 in margins along the top and left side of the page, so zero these out so your watermark can bleed to the edges.
Step Three: Open the Design tab and select “Watermark” from the options on the far right.
Step Four: A dialogue box will open allowing you to select a picture from your media library. I uncheck “washout” because there’s still a dimming with watermark.
Step Five: Because we want full bleed and set our margins to zero, go back to the Layout tab and adjust your indents and spacing for your text so it works with your own design. For this layout, I’m using 1.5 on right and left indents and 150pts on the top. You can do a text box instead if that’s easier for you.
Step Six: Don’t forget to add your branded fonts and you’re done!
This option allows for the watermark to flow seamlessly on all pages within your document.
OPTION TWO - USE “behind TEXT WRap”
The second option for full-page, full-bleed letterhead in Word that won’t dim your design is to insert the picture itself onto your page. The downside with this option is that I find it a bit clunkier to use. Here’s how to design it.
Step One: Same as option one, open a blank, Word document and choose LAYOUT in the top menu.
Step Two: Zero out the default margins for the page.
Step Three: Next, choose the “Insert” tab and select “Picture > picture from file ” from the options.
Step Four: Select your letterhead file and if needed use the arrows to size for the full page. Picture format should open automatically where you can select the “WRAP - Behind Text” option and “Fix position on page”. A small anchor should appear in the top, left corner of your picture showing it’s now locked in position. Go to the navigation pane and select the page to activate your text cursor.
Step Five: Format your font and add in your text with your branded fonts.
Step Six: Go back to the Layout tab and adjust your indents and spacing for text based on the design in the background.
MAKE your document a template for future use
The last step is to save your final document as a template you can use for digital letterhead moving forward. Check out this step-by-step tutorial to learn how.
Until next time, chase your dreams, dreamers!
Want to see some samples?
here are some of our favorite letterhead designs.