
HOW TO: The Scrolling Homepage
HOW to
The Scrolling Homepage
Have you seen the recent addition of Strange Farms Festival to my collection of work? Some of you squarespace dreamers might want to know how you can create your own web homepage just like this one. Here's how!
What I like about an index page is that it allows for full page imagery (like you have with a page banner or hero image). With most templates in squarespace, (I like the Brine family, myself) the index option is standard, so there's no coding needed. Plus, this is a great way to be able to use the same designs in multiple places (like a Call to Action section you see in all my portfolio presentations).

Step One: Add Index
If you're in your main navigation, click the "+" to open up the menu.

Step Two: Create Section
Name the index and add as many "sections" as you want, including galleries and videos. *Just be smart about the titles so you can link them easily if needed.

Step Three: Add Image
Next, you'll want to click the "gear" to open the page settings and by default it'll open to your "basic" page settings. We don't need this now, but if you didn't know it yet, this is where you can name the page, add a description (which helps your SEO) and customize your URL. I use this ALL - the - time, especially for duplicating pages with a complex layout.
But, that's not why we're here. We're here for the second tab, "media" so you can upload your background or design for the full-width section you're working on.
A note about images
If you need imagery, I'd suggest buying backgrounds from istock.com or getting free stock from pexels.com or upsplash. These sites are great for your blog too. But, back to the index itself. Since we're wanting a full screen background, we want our image to be large enough so that squarespace doesn't blow it up to fit. Check out this article on sizing, but I export mine to 2000x1000 and aim to keep them under 500kb to cut down on the load time. *The only caution I have for you is to check on your mobile view to make sure critical info isn't lost on the sides. Squarespace doesn't size your full screen images quite the same as it does your image blocks, so that can be annoying.
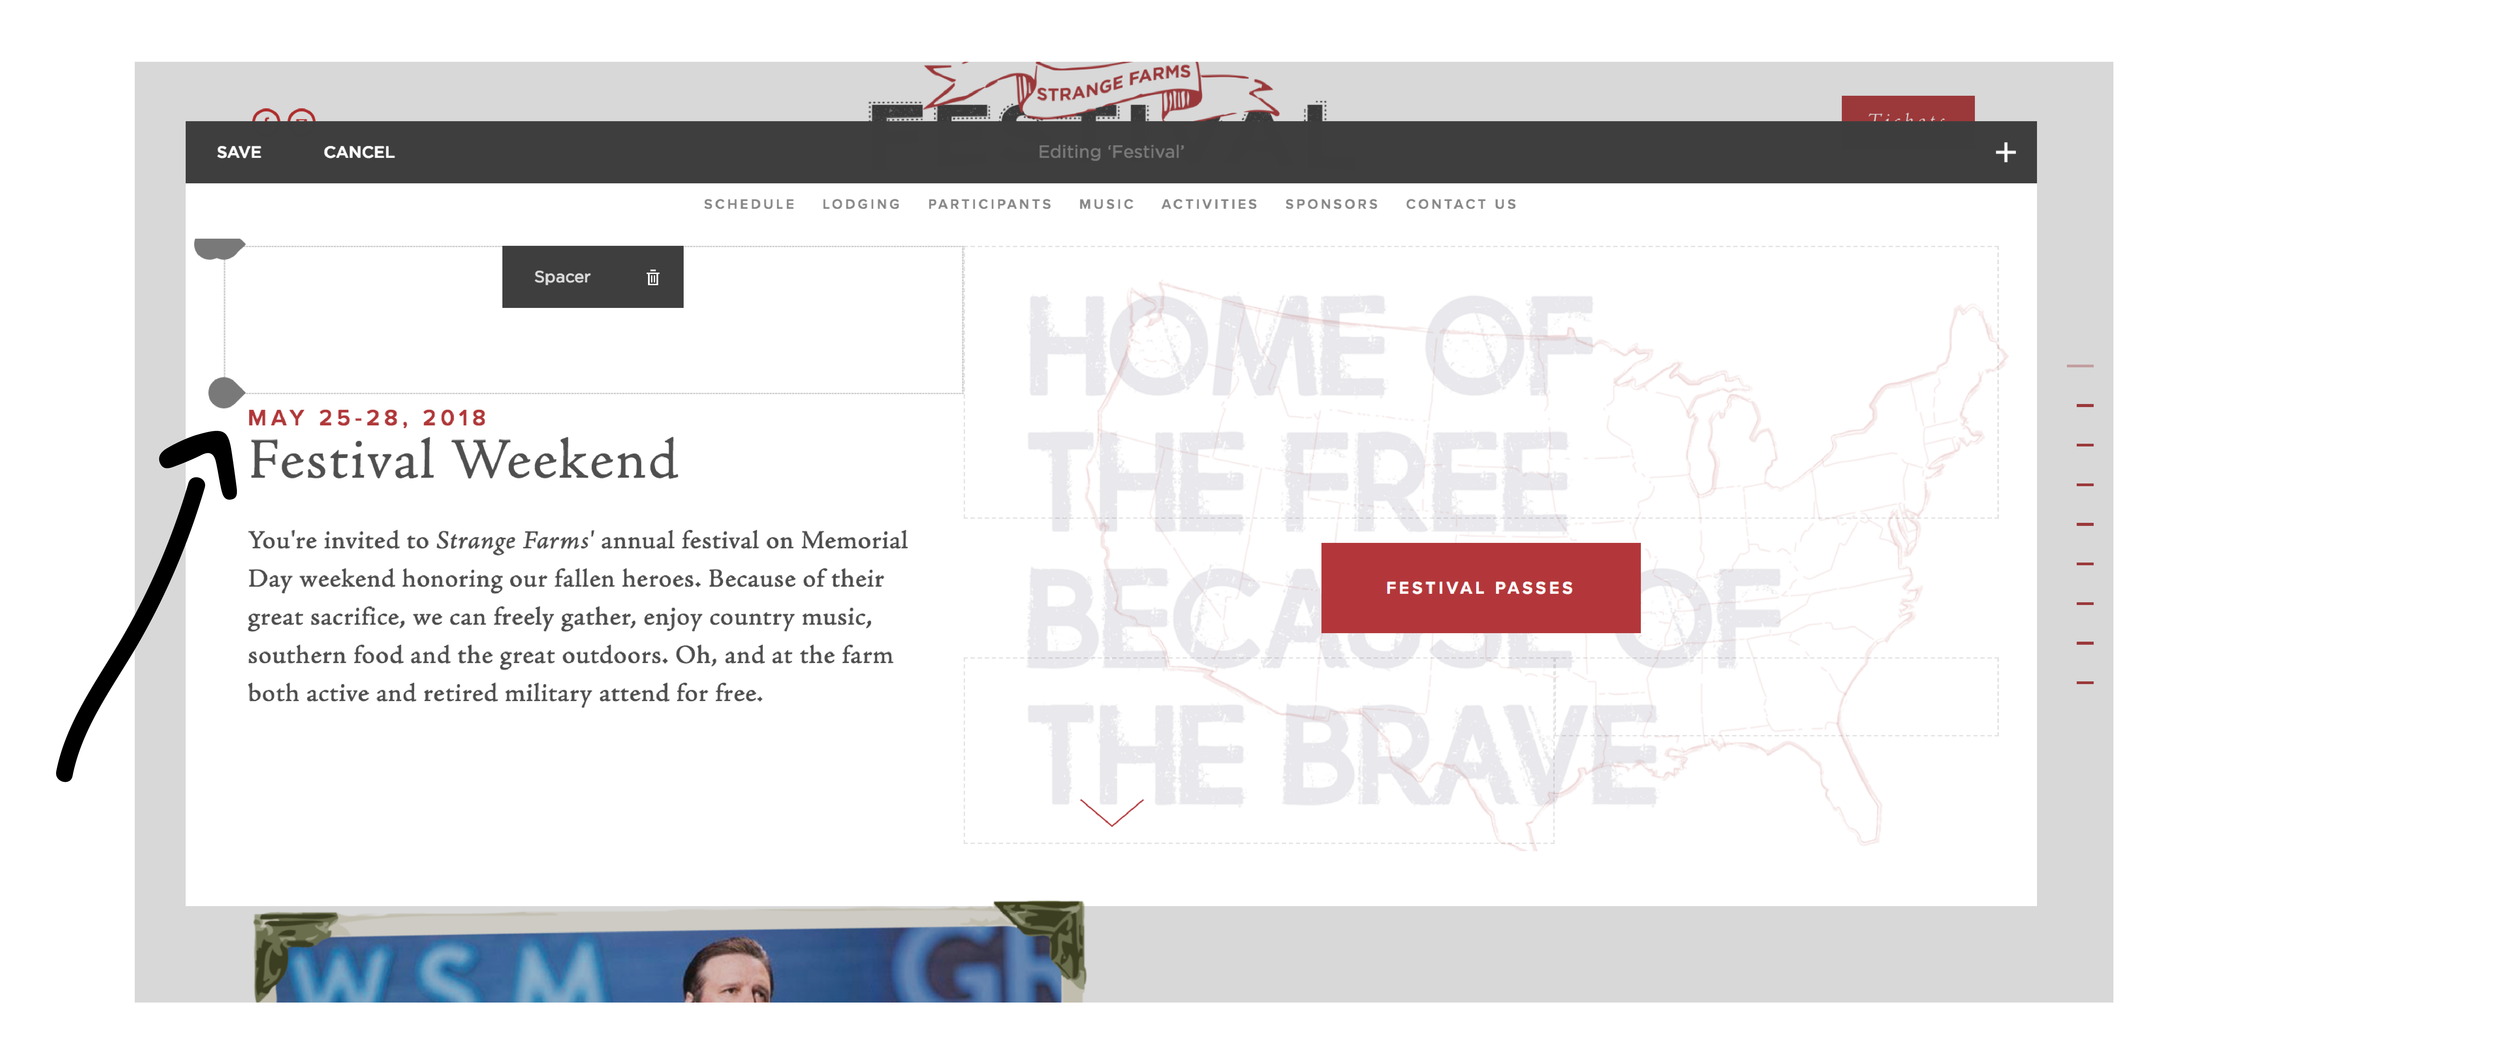
Step Four: Add Content
With your background loaded, you can now add all the regular text boxes, buttons, spacers, etc. Voilà!
STYLE TIPS
By default some of the templates style your header with an overlay. Depending on your image/design, you may want more or less of an overlay. Here's how to change it along with your buttons and font colors that make this feature feature so fun to use.

Step Five: Style it!
This step has a few sub steps you're gonna love. If you're new to squarespace this is a must have to customize your site a bit, and if you've been around a while skip the stuff you already know.
DESIGN >STYLE EDITOR
From your main menu, select the second option "Design." (This opens up your panel for loading your site logo, favicon, announcement bar and custom CSS.) More on this later, but click "style editor" and you can see ALL your STYLE settings. If you've never been in here, take a look around, carefully, as these settings do change the look of your site in snap.
MAIN OVERLAY
Click the index you're trying to edit and it will isolate the settings we're going to work on. If you want your scroll to look like this choose "enable parallax." If you want them to look like this, just deselect that one.
OVERLAY
Most of my photographer clients like to color their own images, so if you need the overlay off or increased you can change it there. I have overlay on these images for the New Heights site, but I typically turn it off for my portfolio presentations.
COLORS
You know how your standard Squarespace template only gives you five text/color settings H1-H2-H3-Body-Quote? Well, Index pages opens up a second color option for all of these as well as your button colors too! Change the "overlay" color for your text settings and the "alternate" ones for your buttons. You're good to go!
Q's
What should my next Tips & Tools tutorial be? Submit a question I can answer or a link to some web inspiration you'd like to learn how to design and I'll add it to my list of coming soon blogs.
Until then, chase your dreams, dreamers!
~ lacey